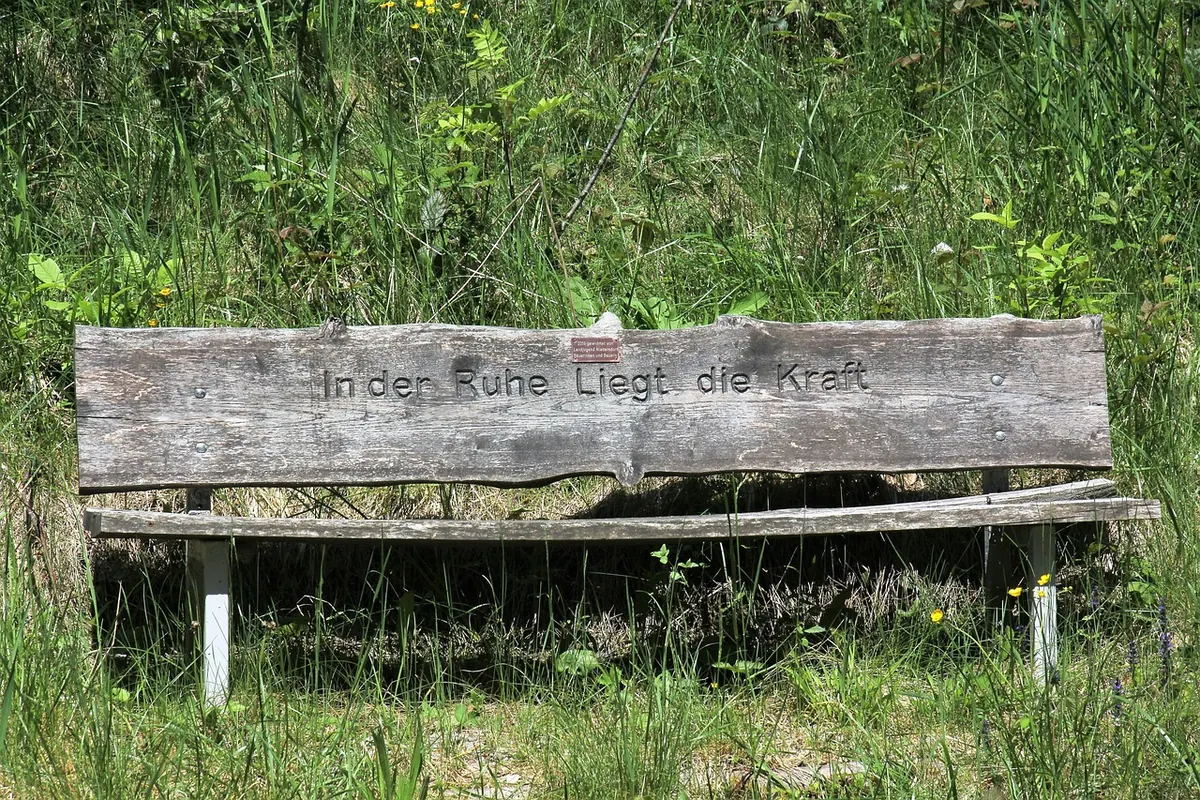
A well-made wooden bench can outlive the person who buys it. That is exactly why second-hand ones are worth a look — and exactly why they can be a trap. Photographs flatter tired timber, and a seller standing in a sunny garden is not going to point out the joint that moves when you lean back. Ten minutes of deliberate checking, though, will tell you most of what you need to know.
Work through the following in order and you will spot the difference between a bench that needs an afternoon's work and one that needs a workshop.
Start with the wobble test, not the finish
Ignore the colour and the grain for now. Put the bench on hard, flat ground — a patio or a driveway, not grass, which hides everything. Sit on it and shift your weight side to side, then front to back. Then stand up and press each corner down in turn, gently but firmly.
A bench that rocks on a flat surface has a problem. It might be a leg that has been cut short, but far more often it is a joint that has opened. Diagonal rocking — where one corner lifts as you press the opposite one — is the clearest sign that the frame has lost its rigidity. Listen as well. Creaks, clicks and small knocking sounds tell you where the movement is happening, even when you cannot see it.
Check every joint, one at a time
Run your hands along the frame and find the joints. On a traditional bench you are likely to be looking at mortise-and-tenon or dowelled construction; cheaper ones may be screwed or bolted. Whatever the method, the questions are the same: is it tight, is it square, and is it original?
Press a hand on the seat and push sideways while watching the leg-to-seat joint. A gap that opens and closes as you push is a joint on its way out. Look for dark lines around a tenon shoulder, or a thin crack following the joint line — both suggest movement and trapped dirt or moisture. Check the seat rails, the backrest where it meets the seat, the armrests, and any stretchers running between the legs. Stretchers take a lot of load and are often the first to go.
What to look for at each joint
- Gaps that open when you apply weight
- Dark or dirty lines along the joint face
- Loose or proud screw heads, especially newer ones in older timber
- Fresh glue squeeze-out, which suggests a recent and possibly hasty repair
- Movement in two directions at once, which usually means more than one joint has failed
Look closely for woodworm and insect damage
Woodworm is the most common reason a decent-looking bench ends up on a bonfire. Small flight holes on their own are not necessarily fatal — they may be decades old and the timber may still be perfectly sound. What matters is whether the infestation is active.
Fine, pale dust beneath the holes is the giveaway. That is frass, pushed out by larvae still working inside, and it means the problem is live. Get underneath with a torch and check the underside of the seat, the back of the backrest, the end grain of the legs and any damp, shaded corner. Tap the timber with your knuckle: sound wood rings, infested wood sounds hollow and dull. A small flathead screwdriver pressed gently into the surface will tell you a lot — if it sinks in easily, the wood has lost its strength.
If you suspect an active infestation, take advice from a qualified timber treatment specialist before you buy, and certainly before you put it in a shed or garage where other timber lives. Treatment products are pesticides and need handling with care, particularly around children and pets.
Rot, splits and the damage water does
Water always wins in the end, and it starts at the bottom. Check the lowest 50mm or so of every leg. Rot shows as soft, spongy, darkened timber, often with a tide line where damp has crept upwards. Push a key or screwdriver into the base of each leg — if it goes in easily, the leg is gone.
Splits need reading, not just spotting. A check running along the grain at the end of a board is usually the timber drying out and is rarely structural. A split that runs across a joint, follows a fixing, or opens when the bench is loaded is a different matter. Grey, silvered surface colour on oak or teak is normal weathering; soft, crumbly texture is not.
Read the old repairs like a story
Most second-hand benches have been mended at some point, and that is fine. You are judging the quality of the work. A good repair used matching timber, cut properly, glued and clamped, with fixings suited to the job. A bad one used wood filler, expanding foam, a scatter of angle brackets, or screws driven straight into end grain, which almost never hold.
Mismatched timber is a clue worth following, as is a seat made from boards of different widths or a backrest slat that does not match the others. Ask what happened. Sellers who know their bench will tell you; sellers who do not often reveal more than they intend.
What to take with you
- A torch, for the underside and the back of the backrest
- A small flathead screwdriver, for probing suspect timber
- A tape measure, so you know it fits before you commit
- A damp cloth — wiping a small area shows up surface cracks, raised grain and patchy finish
- A phone, to photograph joints, fixings and damage for a second look later
Deciding what you are taking on
Re-gluing a joint is an afternoon's work with clamps and wood glue. Replacing a rotted leg takes a saw, a drill and matching timber. Rebuilding an entire seat, or dealing with woodworm throughout the frame, is usually more trouble than the bench is worth — however charming it looked in the listing.
Walk away if rot runs through a structural member, if the wobble comes from several failed joints, or if the backrest has been broken and botched. Otherwise, weigh the asking price against the bench you will have once the work is done, not the one in front of you. A solid frame with tired paint is a good buy. A beautiful finish over a rotten leg is not.
Photo: Alexsander-777 / Pixabay